
We may earn money or products from the companies mentioned in this post.
Editorial update: November 1, 2026. The opening answer and author attribution were clarified. Product and study source-check dates remain as stated below.
Red light therapy at home starts with a setup that fits your space and the exact device’s instructions—not a routine copied from someone else’s panel. Choose the intended use and format first, then check positioning, controls, eye protection and purchase terms before paying.
This guide focuses on equipment and setup. It does not prescribe a universal distance, dose or session schedule. For the clinical findings behind different claims, start with our benefits evidence guide; a device’s instructions and its proof of effectiveness are separate checks.
On this page
Table of Contents
Red light therapy at home: the quick-start checklist
- Define one main goal and the body area involved.
- Choose the format before comparing headline output numbers.
- Find the exact model and generation’s manual.
- Plan a secure position with the required clearance.
- Check electrical handling, ventilation and eye-protection instructions.
- Calculate the complete setup and possible return costs.
- Check medical suitability when relevant; do not self-diagnose from marketing.
Work through this list before building a daily routine. The fastest route to a usable setup is resolving the physical and instruction-related questions early. An expensive device that cannot be positioned comfortably is still the wrong purchase.
You do not need to become a light-measurement specialist. You do need to recognize when a seller’s specifications are incomplete or when a claim is being borrowed from a different type of equipment.
Choose a format for red light therapy at home
| Format | What to evaluate | Practical tradeoff |
|---|---|---|
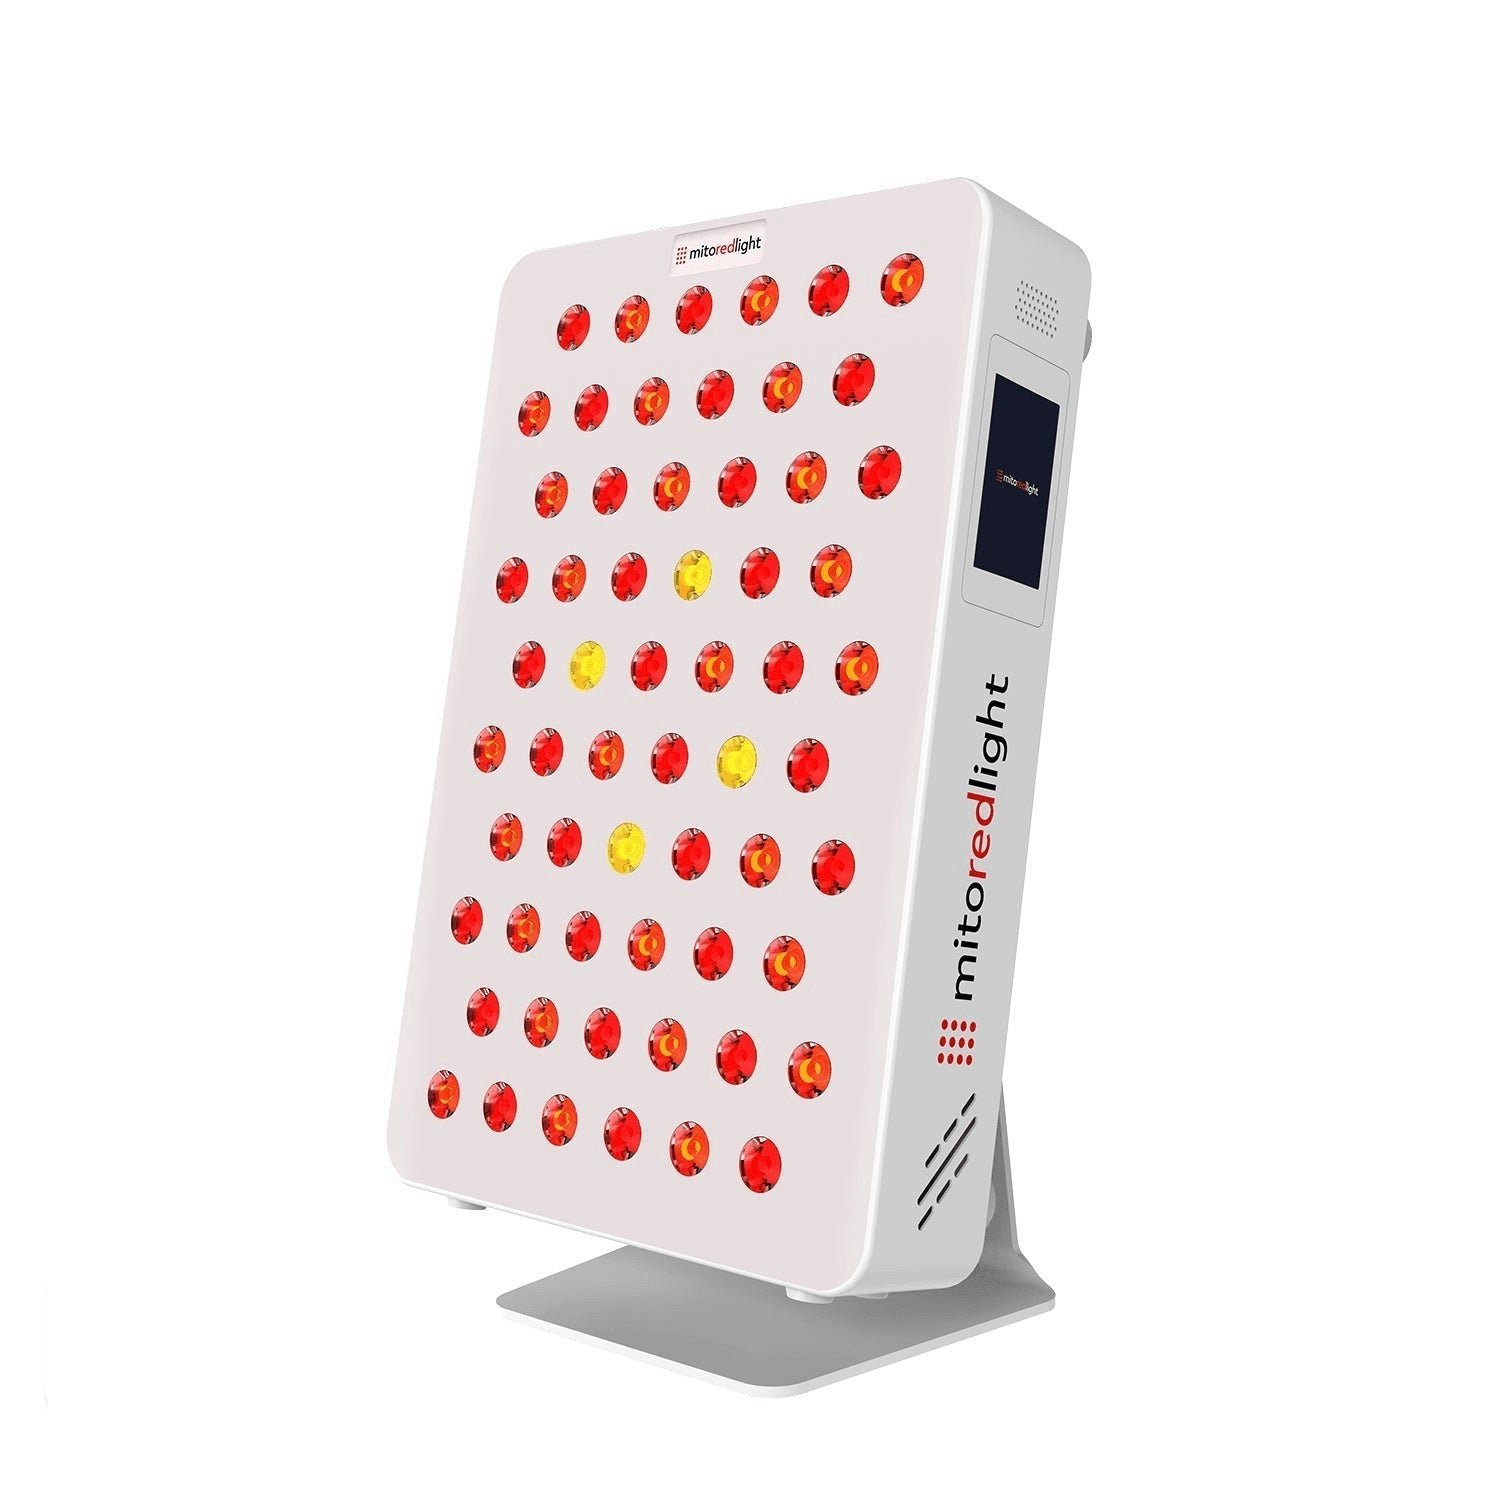
| Open panel | Housing size, mount, position and coverage | Hands-free positioning can require dedicated space |
| Facial device or mask | Exact intended use, fit and cleaning | A facial format does not cover unrelated body areas |
| Wrap or belt | Contact arrangement and permitted placement | Local convenience rather than broad-area coverage |
| Handheld device | How it is held and how long positioning takes | Small-area use can involve more manual work |
Choose a format around the use you actually intend. A large panel is not automatically the most sensible route for a face-only goal. Conversely, a compact device can become inconvenient if your plan involves many separate areas.
Each row describes a category, not every product within it. Read the instructions for the exact item. A familiar shape does not establish which body areas or operating conditions the maker permits.
Start with your goal rather than a benefit list
Write down what you want to assess before opening product comparisons. “Compare a facial device with an open panel for my skincare routine” is a useful starting point. “Improve everything” makes nearly every feature sound relevant.
When medical symptoms are involved, the first question is whether the condition needs assessment and whether this type of treatment is appropriate. Buying equipment does not answer that question. A review cannot diagnose unexplained pain, sudden hair shedding or a persistent sleep problem.
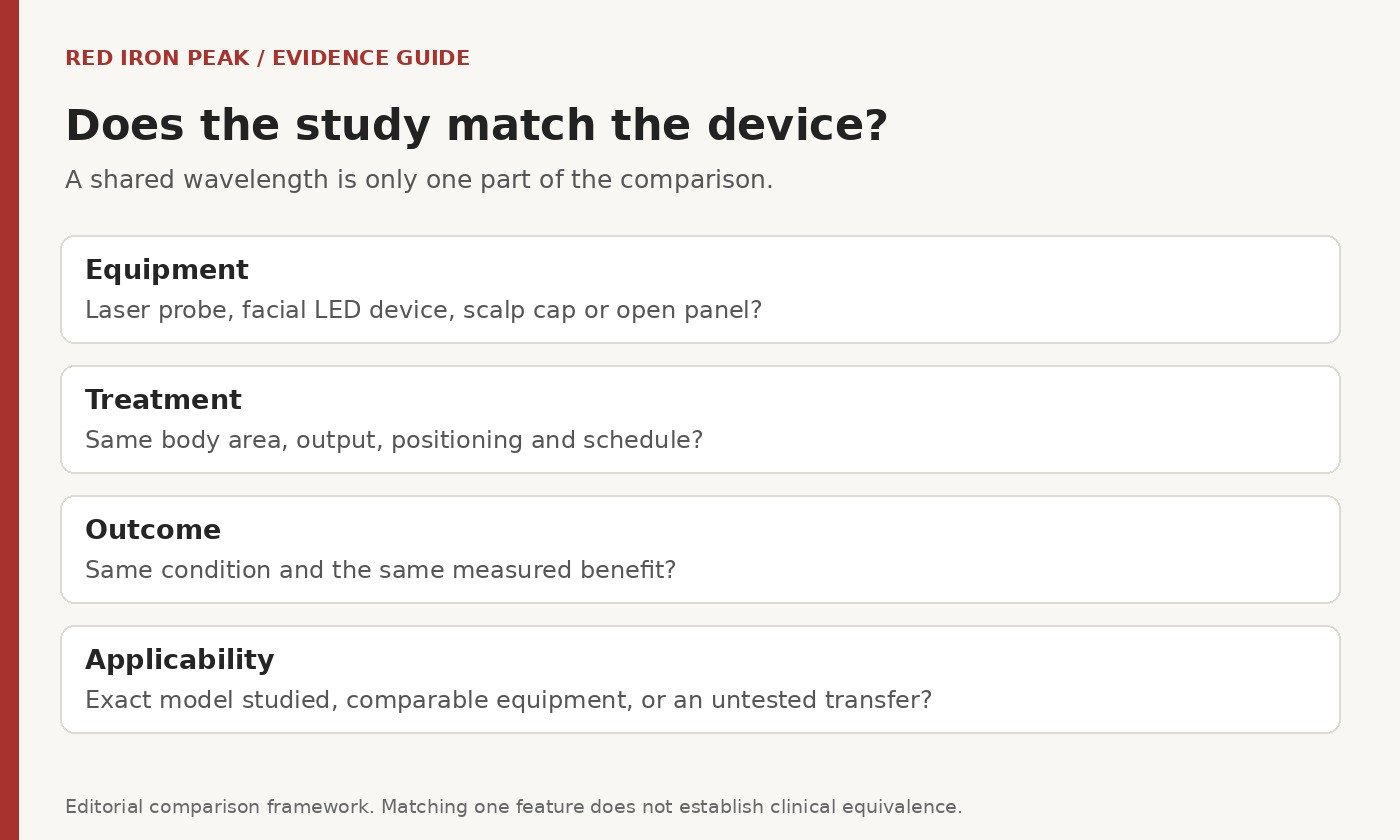
Keep the evidence question separate from the ownership question. A device may be easy to use but poorly matched to the research you care about. Another may have relevant studies but an arrangement you cannot realistically maintain. Both parts belong in the decision.
For facial formats, our face-device comparison explains specific equipment tradeoffs.
Read specifications for red light therapy at home
| Term | Useful interpretation | Avoid this mistake |
|---|---|---|
| Wavelength | The emitted spectral band | Assuming a matching label proves device equivalence |
| Irradiance | Light power per area under stated conditions | Comparing numbers without distance or method |
| Exposure / fluence | Energy per area over time | Treating session length alone as the dose |
| Electrical consumption | Power used from the outlet | Calling wall power therapeutic output |
| Coverage | Area illuminated under particular conditions | Assuming a uniform exposure across the whole area |
The reporting paper by Jenkins and Carroll explains the importance of documenting dose and beam parameters. A headline number without enough context cannot tell you whether a published treatment can be reproduced.
Ask what was measured, where it was measured and which mode was active. Missing conditions should remain an uncertainty, rather than becoming an excuse to choose the largest number.
Measure the room for red light therapy at home
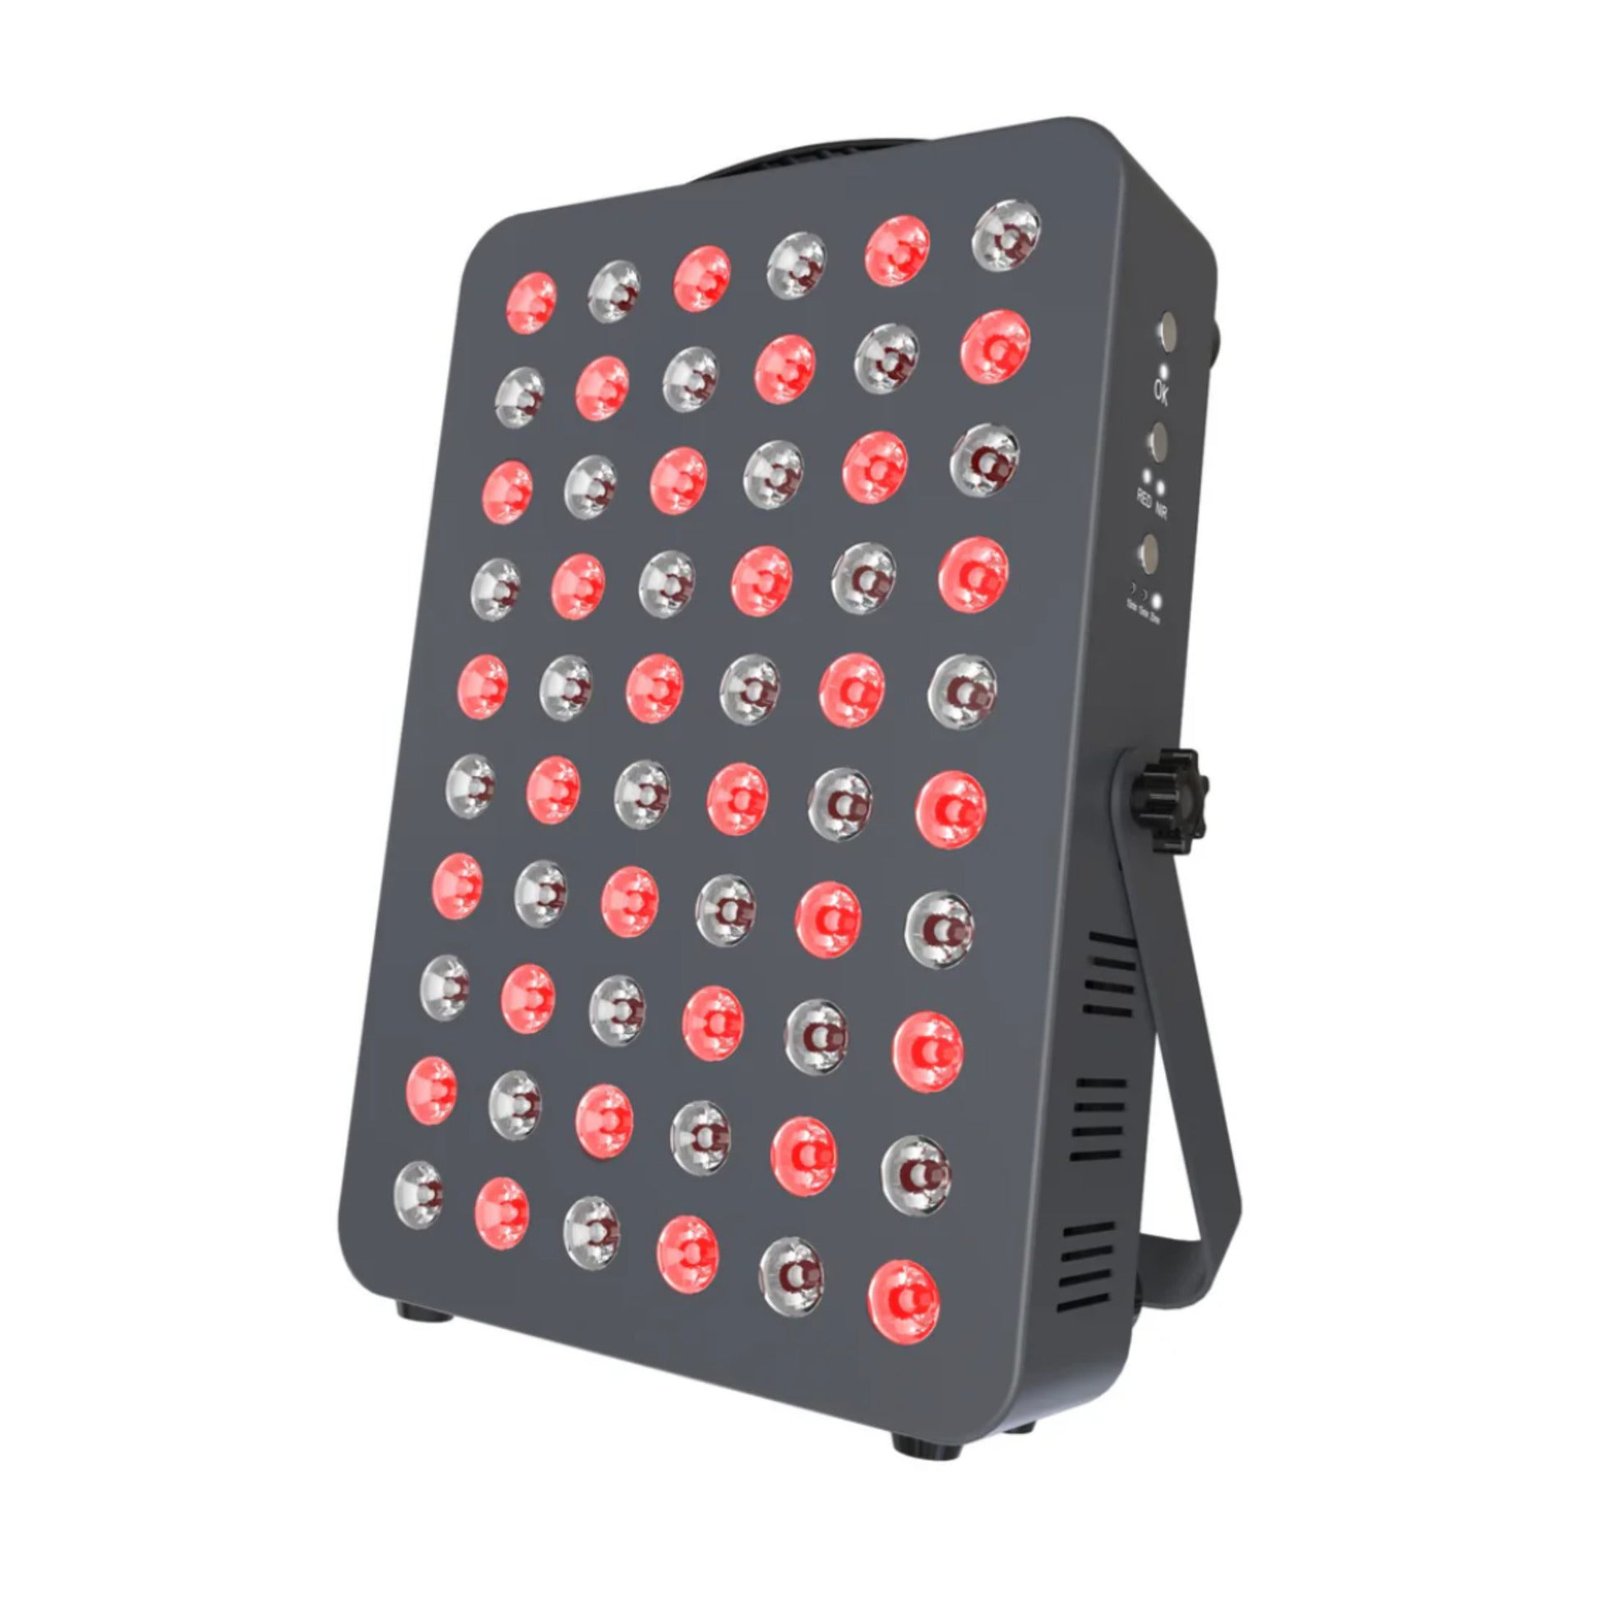
Map the panel’s housing, your body position and the cable route together. Leave room for doors, ordinary movement and whatever clearance the manual requires. The panel’s dimensions alone are not the setup’s floor footprint.
A tabletop device also needs a suitable surface. Check stability and whether your seated position can face it without leaning or holding an awkward posture. Do not assume a small panel is convenient merely because it fits on a shelf.
For a floor or hanging arrangement, think about who else uses the space. A cable crossing a route through the room or a mount that must be removed every evening can make a seemingly simple routine hard to keep.
Rehearse the setup without the device: where you would sit or stand, how you would reach controls and how you would put everything away. This makes practical problems visible before they become return-shipping costs.
Mounting and accessories: check what is actually included
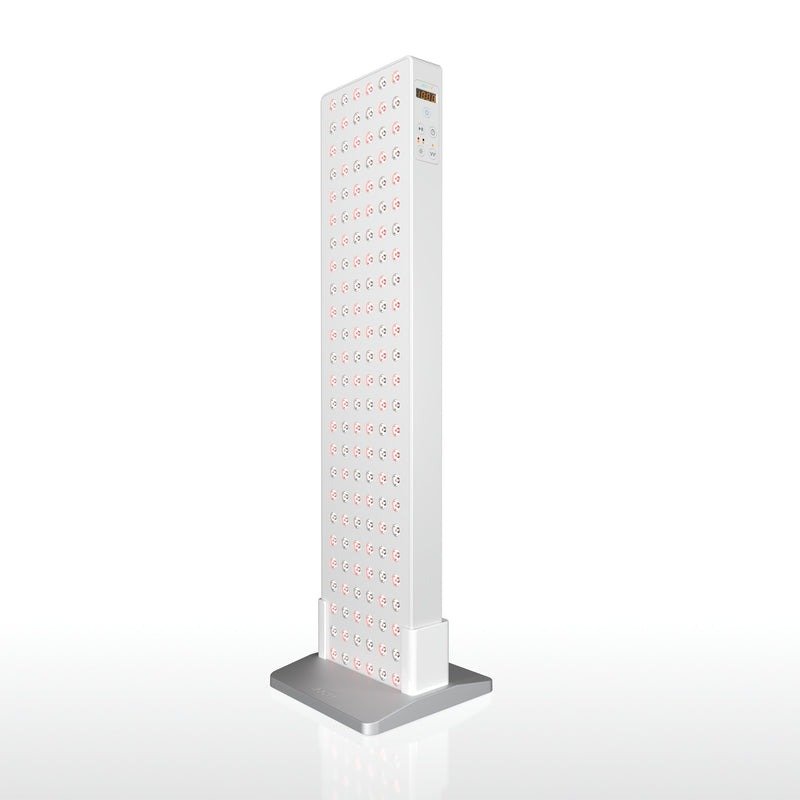
Do not infer package contents from a lifestyle photograph. A stand visible in an image may be optional, and hardware supplied with one model may not accompany a smaller one. Check the itemized package and the exact accessory listing.
Hooga’s PRO manual and HG manual illustrate why model-specific documentation matters: their mounting and package descriptions distinguish models within a series.
Check compatibility, orientation and load requirements before buying a mount. If you plan to expand later, confirm supported combinations rather than assuming any panels in the same brand can be connected.
Do not improvise a heavy-panel support from unrelated hardware. If the instructions do not cover the arrangement, ask the manufacturer for the supported method.
Red light therapy at home needs an exact-model manual
Retain the manual for the unit you actually receive. Product names can survive revisions to controls, accessories and instructions. Advice written for an earlier generation may therefore describe a different routine.
Read the installation, operation, cleaning, warnings and troubleshooting sections before the first use. Skipping to the dose table can mean missing a condition that changes where or how the device may be used.
If the sales page and manual disagree, identify the specific conflict and ask support which instruction applies to your order. Do not solve it by averaging two schedules or choosing whichever is more convenient.
Keep the model, order date and manual revision together. That makes later support questions easier and reduces the risk of using a generic online guide in place of the correct instructions.
Distance, session length and frequency are model-specific
There is no single schedule for red light therapy at home. Changing distance, mode or equipment changes the setup, so a session length from someone else’s routine is incomplete information.
Joovv’s Generation 3.0 guidelines provide directions for its specified models. Hooga publishes separate HG and PRO instructions. These sources demonstrate that instructions belong to the named equipment; they do not form a menu from which to assemble a hybrid routine.
Do not derive a medical dose by combining a manufacturer’s headline irradiance with a clinical paper’s energy figure. Reproducing a study requires more than simple arithmetic, including comparable equipment, exposure conditions and a relevant population.
Follow the exact instructions and ask for clarification where they conflict. A timer preset is an operating option, not proof that the same setting suits every goal.
Eye protection for red light therapy at home
Read the eye-safety section for the exact device and mode. Brand instructions differ; that is a reason to check, not permission to choose the least restrictive advice from another product.
The American Academy of Dermatology advises using the eye protection specified in the directions when required, and not substituting sunglasses for protective goggles. Do not assume closed eyes replace required protection.
Before a session, locate the specified eyewear and consider anyone else who could be exposed to the equipment. Do not position another person or animal in the beam as an incidental part of your routine.
A near-infrared channel may not look bright to the naked eye. Visual brightness is therefore not a reliable way to assess whether a device is emitting light or whether exposure is appropriate.
Medication, skin and health questions to resolve first
The AAD advises checking whether light-sensitive conditions, medication or current treatment changes suitability. A warning about sunlight does not, by itself, specify the response to every red or near-infrared device; ask the prescriber or pharmacist rather than assuming either universal safety or universal incompatibility.
For pregnancy, an eye condition, a suspicious lesion or a medical concern involving the intended area, obtain individual advice before starting. The equipment guide cannot establish safety for circumstances that were not evaluated in the research or instructions.
Stop and seek appropriate advice if a session produces a concerning reaction. Do not regard irritation as evidence that the device is “working,” or increase exposure because a hoped-for benefit is not apparent.
Keep medical suitability and return deadlines separate. A seller’s refund policy does not establish that a device is appropriate for your situation.
Electrical handling for red light therapy at home
Use the equipment only in the environment permitted by its manual. The Hooga manuals specify dry electrical handling, indoor use and keeping cooling fans clear. Do not extrapolate those products to wet-room or sauna use.
Inspect the cable and housing before use. Do not operate damaged electrical equipment or improvise repairs. Follow the maker’s requirements for any extension cable, outlet or mounting accessory rather than assuming a familiar plug settles the issue.
Clean as directed, disconnecting power where required and letting surfaces dry before reuse. A disinfectant or solvent suitable for one device is not automatically suitable for another.
Include maintenance in the routine. Equipment that accumulates in a cramped corner with blocked vents is a poor arrangement even if the session position itself looks convenient.
Track the routine without inventing clinical results
A simple log can record date, model, mode, position, instruction-based settings and any reaction. It helps distinguish an inconsistent routine from a stable setup and gives support or a clinician clearer information if questions arise.
For cosmetic observations, keep photographs comparable: lighting, camera position and expression can change how skin looks. A personal before-and-after image is not a blinded clinical trial, and a different lighting setup can create a misleading apparent result.
Do not let tracking become an instruction to continue despite problems. A record is useful information, not proof that more sessions are appropriate or that a lack of change can be fixed by increasing exposure.
Assess a single goal rather than changing the device, skincare and several other habits at the same time and crediting every change to the light.
Red light therapy at home: budget and return planning
Compare the complete installed package: device, required mounting, accessories, tax and shipping. If you expect to expand, price the expansion separately so that a future possibility does not obscure today’s cost.
Read return deductions before treating a return period as a trial. For example, Hooga’s policy deducts return shipping and requires original packaging and condition. Different sellers can have materially different conditions.
Warranty coverage is a separate question. Establish what is covered, how long coverage lasts and which shipping costs fall to the buyer. Keep the invoice and original package until you have made the retention decision.
A lower base price can be a good fit, but a cheap device requiring an awkward installation can be poor value. Conversely, extra controls may be worth paying for if they solve a genuine usability need. Budget around the setup you will use.
Regulatory language and realistic expectations
FDA registration and listing do not establish approval or clearance. Check any regulatory claim against the exact device and intended use rather than accepting a brand-wide badge.
Likewise, an electrical-safety document and a clinical-efficacy study answer different questions. Neither should be presented as a universal validation of every sentence on a sales page.
For the evidence on skin, hair, pain and other applications, use the benefits guide. This practical setup article deliberately does not reproduce its entire clinical discussion.
Your goal is a usable, properly documented arrangement with realistic expectations. A research citation should help you ask better questions, not end the evaluation.
Common red light therapy at home mistakes
- Buying on model wattage while ignoring actual consumption and measurement conditions.
- Choosing a panel before checking the room or mount.
- Using instructions for another model or generation.
- Assuming all pictured accessories are included.
- Treating a wavelength match as proof of equal outcomes.
- Calling a return window free without reading deductions.
- Increasing exposure to compensate for a lack of results.
- Using an open panel as a substitute for every purpose-built device.
Most of these mistakes come from combining separate questions too quickly. Slow down the purchase decision enough to identify the exact equipment, intended use and instructions; the daily routine can then be simpler.
Questions about red light therapy at home
Can I use one routine for red light therapy at home?
No. Use the exact model’s instructions and obtain clarification when the manual and listing conflict. Equipment, mode and positioning all matter.
Does higher wattage improve red light therapy at home?
No. Wall consumption is not a clinical outcome or a measurement of light reaching the target area. Compare the appropriate quantity under documented conditions.
Do I need goggles for red light therapy at home?
Follow the protection specified for your device and mode. Do not substitute sunglasses or closed eyes where the directions require suitable goggles.
Can I use red light therapy at home while sleeping?
Do not assume unattended use is permitted. Read the manual; for example, the Hooga instructions warn against use by sleeping persons.
Can a compact panel replace a facial device?
That depends on intended use and relevant evidence. A shared wavelength does not establish interchangeable treatments or identical exposure.
What should I check before buying red light therapy at home?
Define the goal, check the format and room, read the exact manual, resolve suitability questions and calculate the complete cost including return conditions.
Red light therapy at home: a first-use readiness check
Before the first use, make sure the exact device and matching instructions are identifiable. Product-family names can conceal different generations, controls and supports. Keep the model information and manual together so that a future question can be answered without reconstructing what was ordered.
Check the delivered equipment and packaging for damage. Follow the seller’s reporting process if something appears wrong, and do not attempt an internal repair. Retain the packaging while the return decision is open. An arrival photograph documents condition; it does not demonstrate safety or effectiveness.
Rehearse the setup without starting an exposure. Establish where you will sit or stand, how you will reach the controls and how you will stop. Confirm that the support remains stable in that arrangement and that the cable does not create a trip hazard. Resolve a space problem by changing the installation, not by inventing a different distance or session length.
Find the manufacturer’s eye-protection directions and identify any supplied protection before beginning. Do not copy another brand’s rule because the devices look similar. If the documentation is unclear or conflicts with the product page, ask for instructions applicable to your exact unit.
Write down the settings the instructions require you to track. Keep this as an operating record rather than a source of recommendations for other people. Your record should identify the device and mode; a bare note saying “ten minutes of light” leaves out information needed to interpret what happened.
If another person shares the equipment, explain the controls and applicable instructions separately. Do not assume that your own assessment of suitability applies to them. A household member’s medical circumstances or medication questions should be addressed with the appropriate professional.
Plan cleaning and storage using the manual. Keep the instructions accessible after the initial setup, especially if the equipment is moved or an accessory changes. An alteration to the mount can create a new installation question even when the panel itself remains the same.
Finally, establish a simple stopping rule: discomfort or an unexpected reaction is a reason to stop and seek appropriate guidance, not to increase exposure in pursuit of a result. Red light therapy at home works best as an organized equipment routine with realistic expectations. Organization cannot guarantee a benefit, but it can prevent uncertainty about what device was used and which instructions were followed.
Your next step and the sources used
For red light therapy at home, make the purchase decision concrete: one intended use, one model, one safe installation and a complete budget. If a seller cannot provide the information necessary for those checks, keep looking.
Compare formats in our device guide and read our Joovv review or Mito versus Hooga comparison for specific buying tradeoffs.
Source check: November 1, 2026. Sources linked above include official HG/PRO manuals, Joovv Generation 3.0 guidance, AAD precautions, FDA regulatory guidance and the Jenkins/Carroll reporting paper. This revises an earlier draft to remove unverified cross-brand schedules and unsupported regulatory absence claims. We have not personally tested these setups or independently calibrated the devices. Photos are manufacturer images; graphics are editorial explanations. About Red Iron Peak.